16 Bathroom Tiles: The Complete Guide to Choosing, Installing & Styling
Choosing the right bathroom tiles can feel overwhelming. There are hundreds of options, dozens of materials, and a thousand tile patterns to consider. But here’s the truth — your tile choice defines your entire bathroom’s personality. This guide covers everything you need, from picking the right material to avoiding rookie mistakes.
What Are Bathroom Tiles and Why Do They Matter?
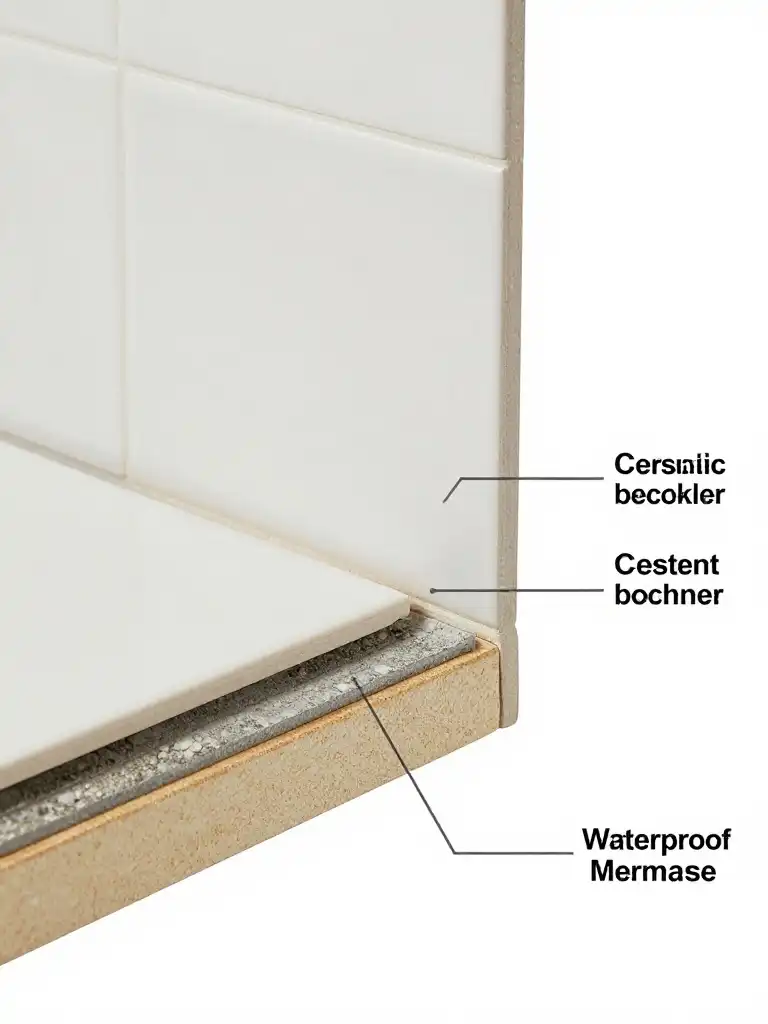
Bathroom tiles are more than just a surface covering. They protect your walls and floors from constant water exposure, humidity, and daily wear. Think of them as the armor your bathroom wears every single day. Without quality tiles, moisture seeps into walls, mold grows fast, and your renovation crumbles quickly.
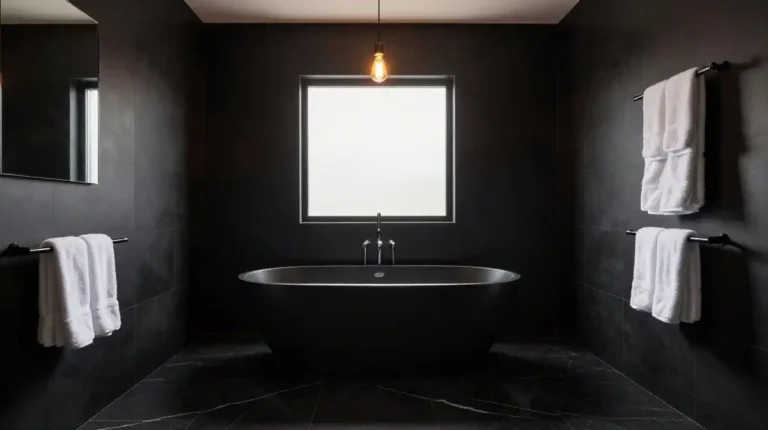
Beyond protection, tiles shape the entire mood of a space. A bright white bathroom tile makes a small bathroom feel open and airy. Deep charcoal grey bathroom tiles bring drama and elegance. The right tile doesn’t just look good — it functions hard for decades. Choosing wisely now saves you thousands in repairs later.
Types of Bathroom Tiles – Which One Is Right for You?
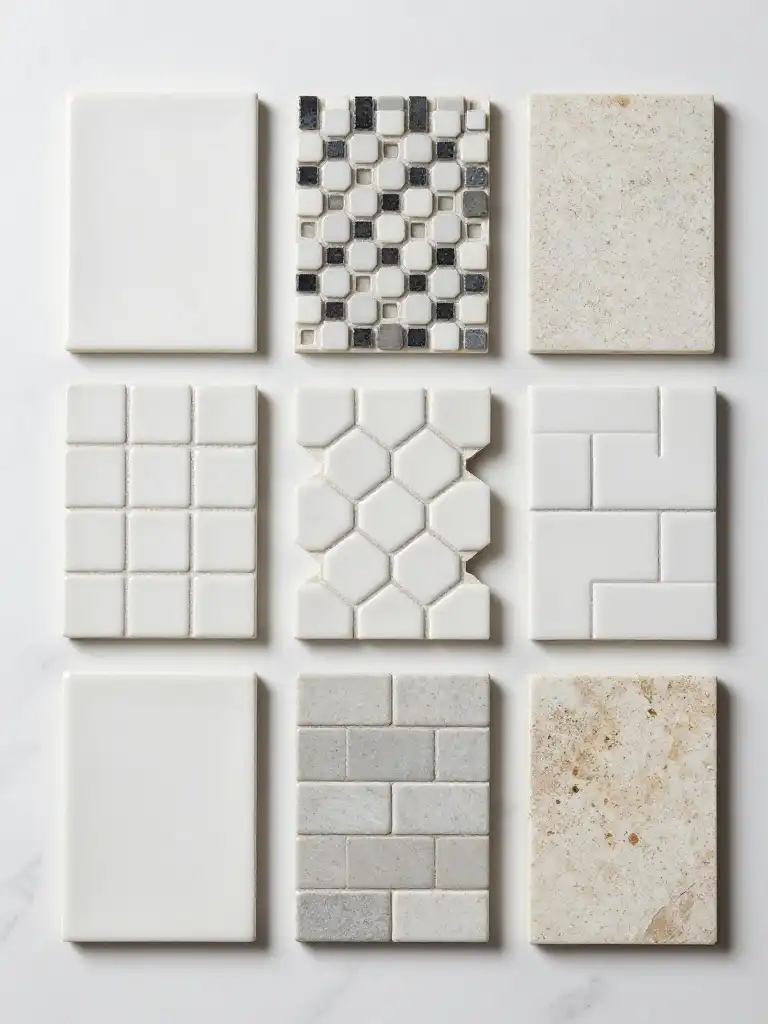
Walk into any tile showroom in the USA and you’ll face a wall of choices. Ceramic tiles, porcelain tiles, mosaic tiles, subway tiles, hexagon tiles, glazed tiles, and natural stone bathroom tiles all sit there waiting for your decision. Each type carries its own strengths, price points, and ideal use cases.
Here’s a quick comparison to help you decide:
| Tile Type | Best For | Water Resistance | Average Cost (per sq ft) |
|---|---|---|---|
| Ceramic | Walls, low-traffic floors | Moderate | $1 – $4 |
| Porcelain | Floors, wet rooms | Excellent | $3 – $10 |
| Mosaic | Accents, shower floors | High | $5 – $15 |
| Natural Stone | Luxury bathrooms | Low (needs sealing) | $5 – $20 |
| Subway Tiles | Walls, backsplash | High | $2 – $7 |
| Hexagon Tiles | Floors, feature walls | High | $4 – $12 |
Each type serves a different purpose. Mosaic tiles work beautifully as shower floor accents. Subway tiles give walls a timeless, classic look. Hexagon tiles add geometric personality to floors. Your choice should match your lifestyle, budget, and design goal.
Ceramic vs Porcelain Bathroom Tiles – Key Differences Explained
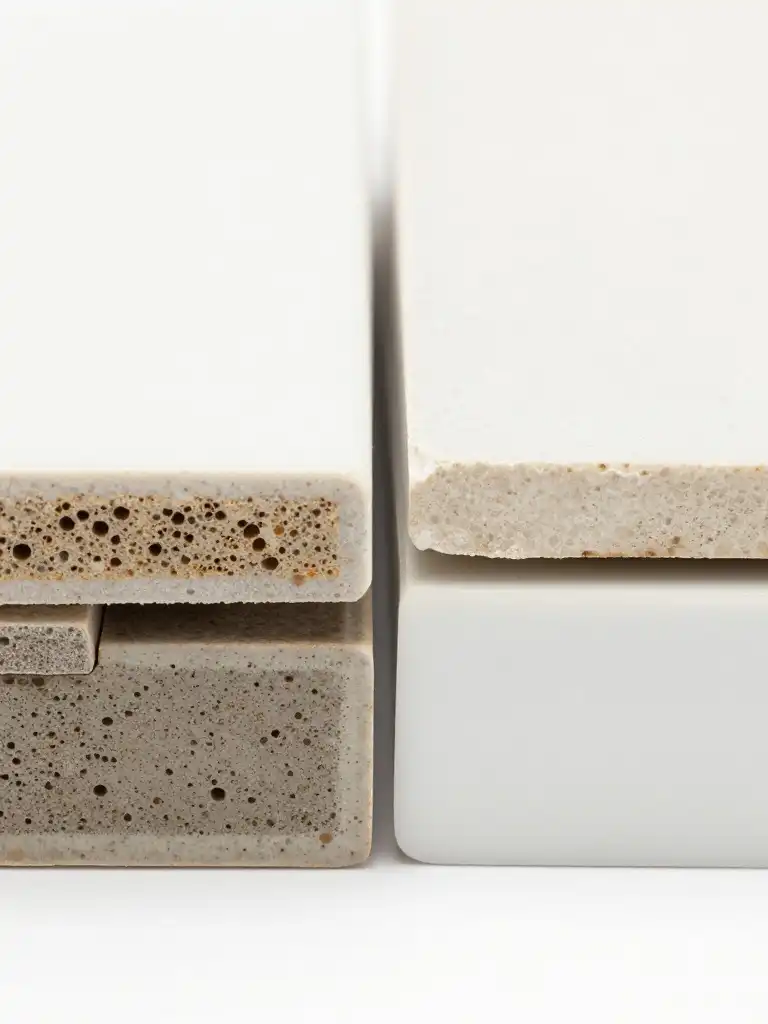
Most American homeowners confuse ceramic and porcelain tiles constantly. Both look similar on the surface, but they differ dramatically in density, durability, and water absorption. Ceramic tiles are made from natural clay fired at lower temperatures. This makes them lighter, easier to cut, and more affordable — ideal for bathroom walls and dry areas.
Porcelain tiles, on the other hand, fire at extreme temperatures. The result is a denser, harder tile that absorbs less than 0.5% water. For wet room tiles, shower floors, and high-traffic bathrooms, porcelain wins every time. Yes, it costs more. But its longevity justifies every penny, especially in American climates where temperature changes stress flooring materials heavily.
“Porcelain tile is essentially the gold standard for wet areas. Its low porosity means it resists staining, freezing, and water damage far better than standard ceramic.” — National Tile Contractors Association
Best Bathroom Floor Tiles for Safety and Style
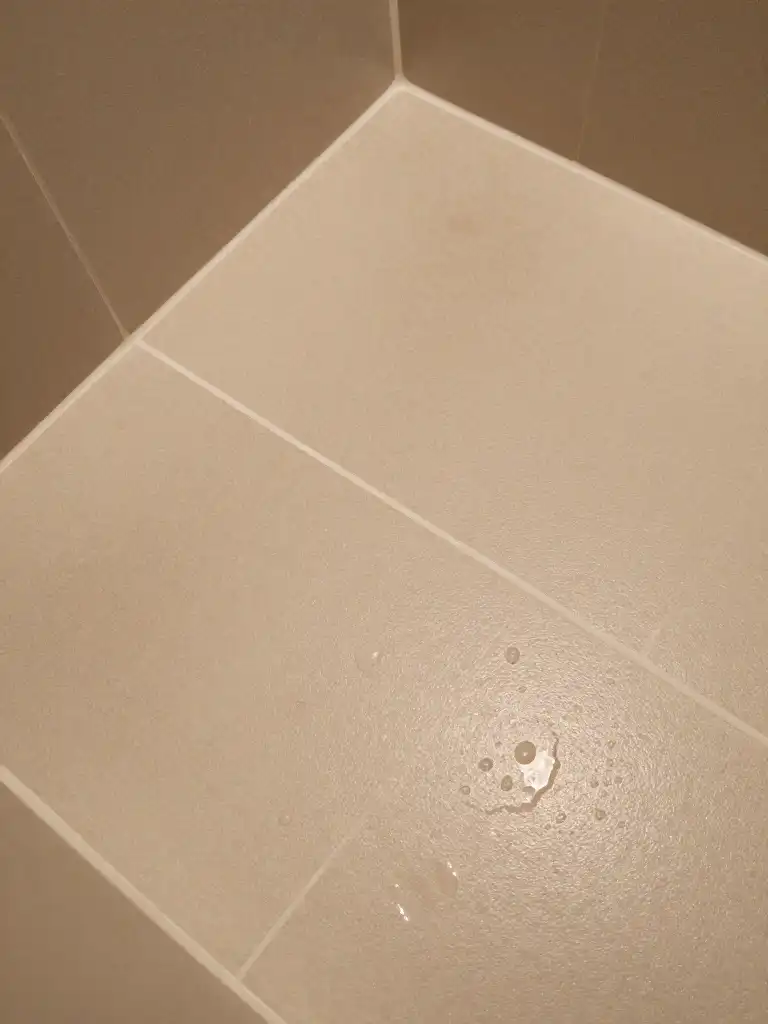
Your bathroom floor takes a serious beating. Water, soap scum, foot traffic, dropped products — it handles all of it. The best tiles for bathroom floors combine slip resistance with visual appeal. Never sacrifice safety for aesthetics, especially in households with children or elderly family members.
Non-slip tiles and anti-slip bathroom flooring carry a COF (Coefficient of Friction) rating. Look for tiles with a COF of 0.60 or higher for wet areas. Textured porcelain tiles, matte-finish ceramic tiles, and small mosaic tiles with more grout lines all naturally offer better grip. Polished stone and smooth glazed tiles, while stunning, can become dangerously slippery when wet.
| Floor Tile Finish | Slip Rating | Recommended Use |
|---|---|---|
| Matte Porcelain | Excellent | Shower floors, main floor |
| Textured Ceramic | Good | General bathroom floor |
| Polished Stone | Poor | Dry areas only |
| Mosaic (small) | Excellent | Shower pan |
| Glazed Tile | Poor–Moderate | Walls only |
Top Bathroom Wall Tile Ideas for a Modern Look
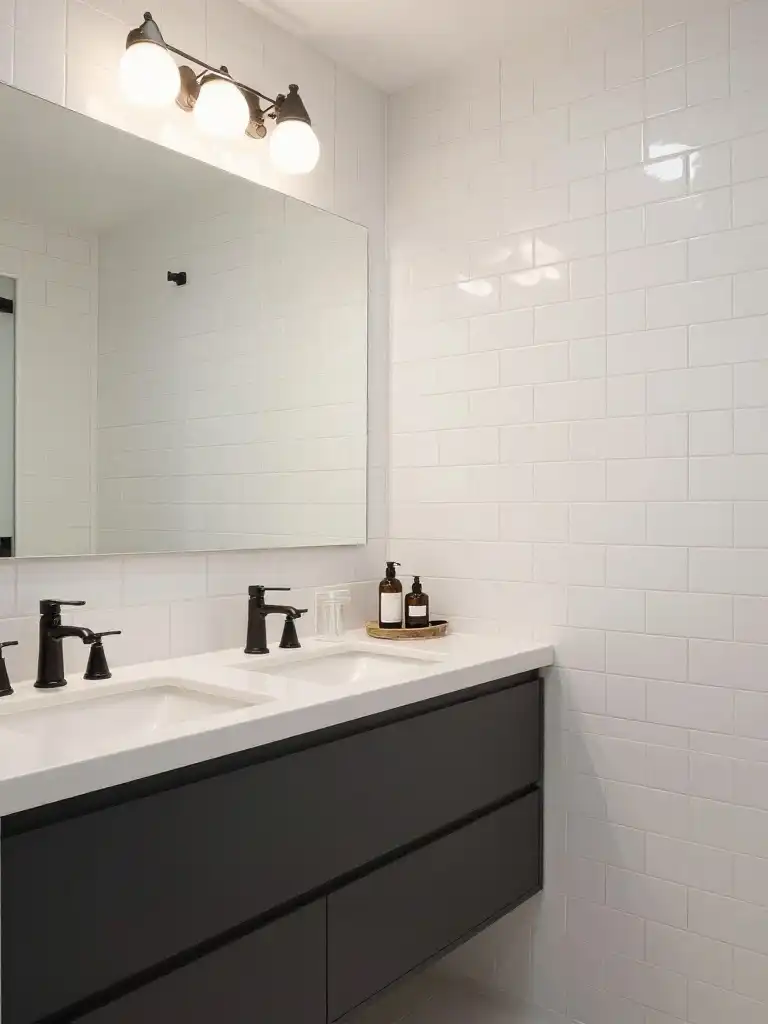
Modern bathroom tile design on walls focuses on clean lines, bold textures, and smart proportions. Large-format wall tiles (24×48 inches) are trending hard across American homes in 2025. They minimize grout lines, making walls look sleeker and easier to clean. Pair them with contrasting floor tiles for a professional designer finish.
Subway tiles remain a perennial favorite for American bathrooms. Stack them vertically for a taller ceiling illusion. Lay them in a herringbone pattern for a trendy twist. Mosaic tiles work perfectly as accent strips on bath surrounds or behind vanities. Mix materials thoughtfully — a glazed tile wall with a natural stone bathroom tile accent strip creates effortless luxury without overwhelming the space.
Small Bathroom Tile Ideas That Make the Space Look Bigger
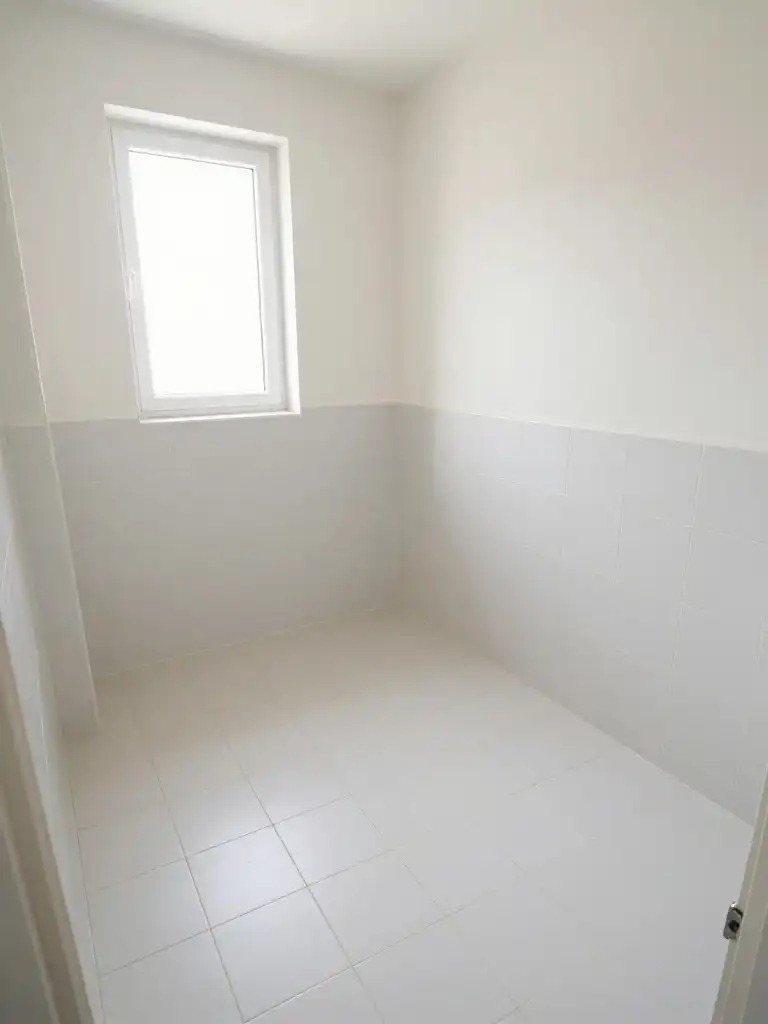
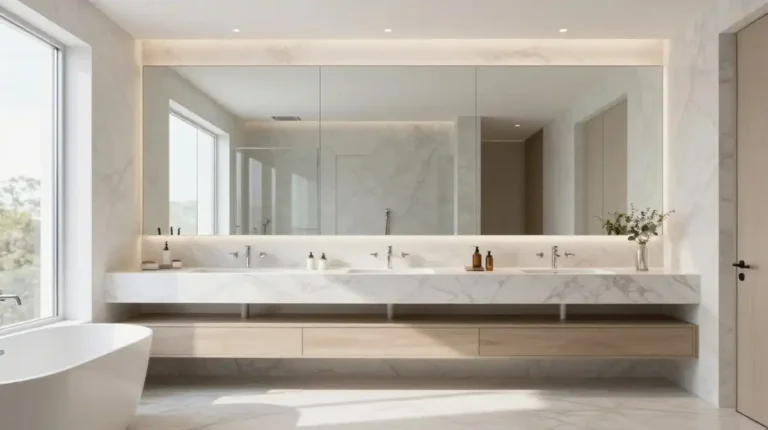
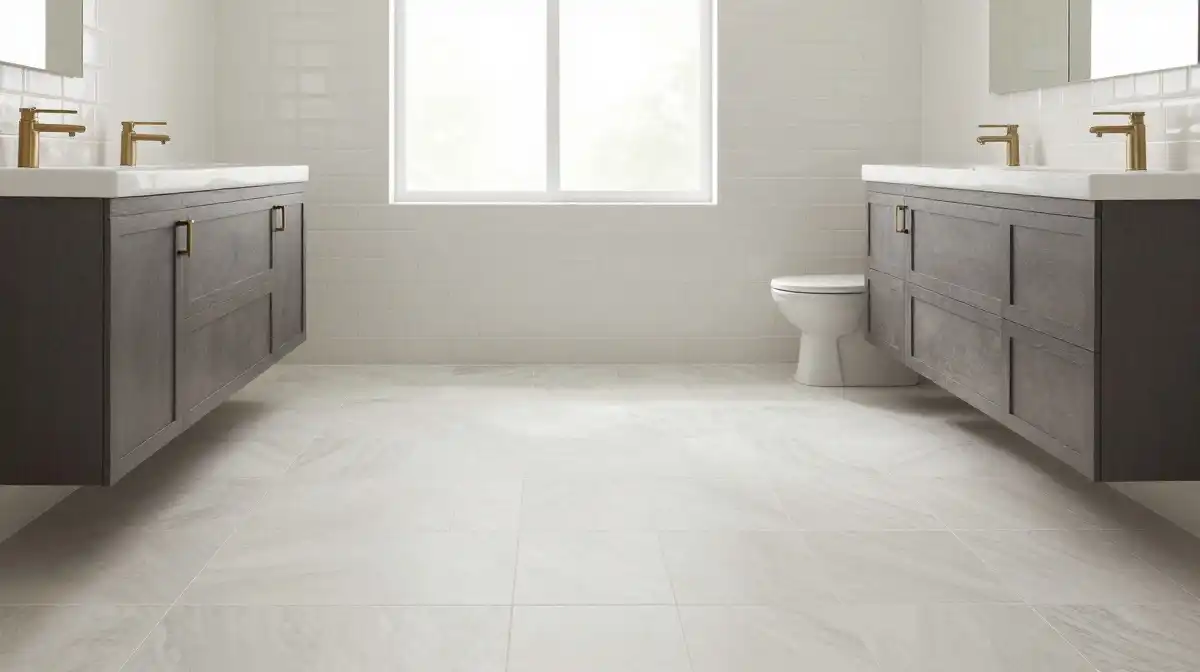
Small bathrooms are genuinely tricky. But the right tile strategy can visually double your perceived square footage. Small bathroom tile ideas that work best involve light colors, large formats, and minimal grout lines. Pale white bathroom tiles or soft beige porcelain tiles reflect light and push walls outward visually.
Avoid dark tiles wall-to-wall in tight spaces — they absorb light and shrink rooms fast. Instead, use grey bathroom tiles on one accent wall only. Run floor tiles diagonally to create movement and expand perceived depth. Carry the same tile from floor to wall (a technique called “tile continuity”) to blur boundaries and make the room feel seamlessly larger. Designers call it “tiling through” and it’s one of the best bathroom makeover ideas available without knocking down walls.
Popular Bathroom Tile Patterns and Layouts
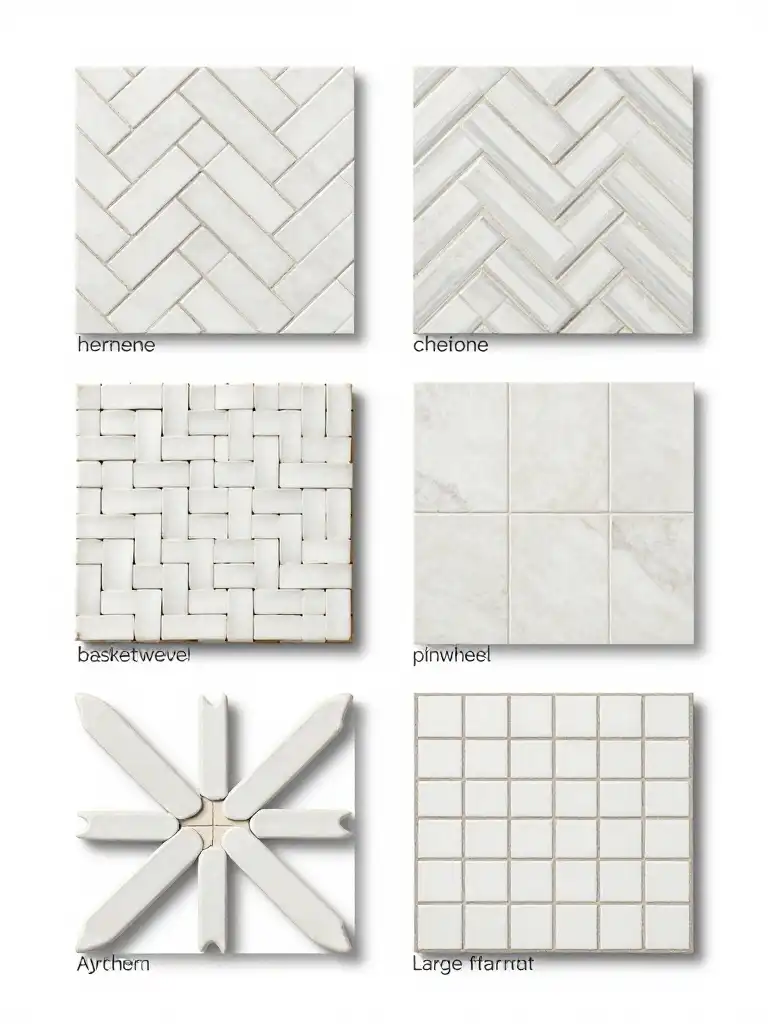
Bathroom tile patterns are where creativity truly takes over. The layout you choose changes the entire character of a room. A stack bond pattern (tiles aligned in straight rows) feels modern and minimal. A brick offset (running bond) pattern gives a classic, timeless feel that works with subway tiles especially well.
Here are the most popular patterns American homeowners choose in 2025:
Herringbone — Tiles arranged in a V-shape zigzag. Works brilliantly with rectangular tiles on floors and walls. Adds dynamic energy to neutral color palettes.
Chevron — Similar to herringbone but with angled cuts for a seamless point. More refined and precise.
Basketweave — Alternating horizontal and vertical tile pairs. Perfect for vintage or transitional bathroom styles.
Pinwheel — A central square tile surrounded by four rectangles. Creates a classic, almost Victorian feel.
Large-Format Grid — Oversized tiles laid in a simple grid. The most popular choice for modern minimalist bathrooms today.
Each pattern requires different skill levels to install. Herringbone and chevron demand precise cutting and more tile material (budget 10–15% extra for waste). A simple grid pattern suits confident beginners attempting bathroom tile installation independently.
How to Choose the Right Tile Size for Your Bathroom
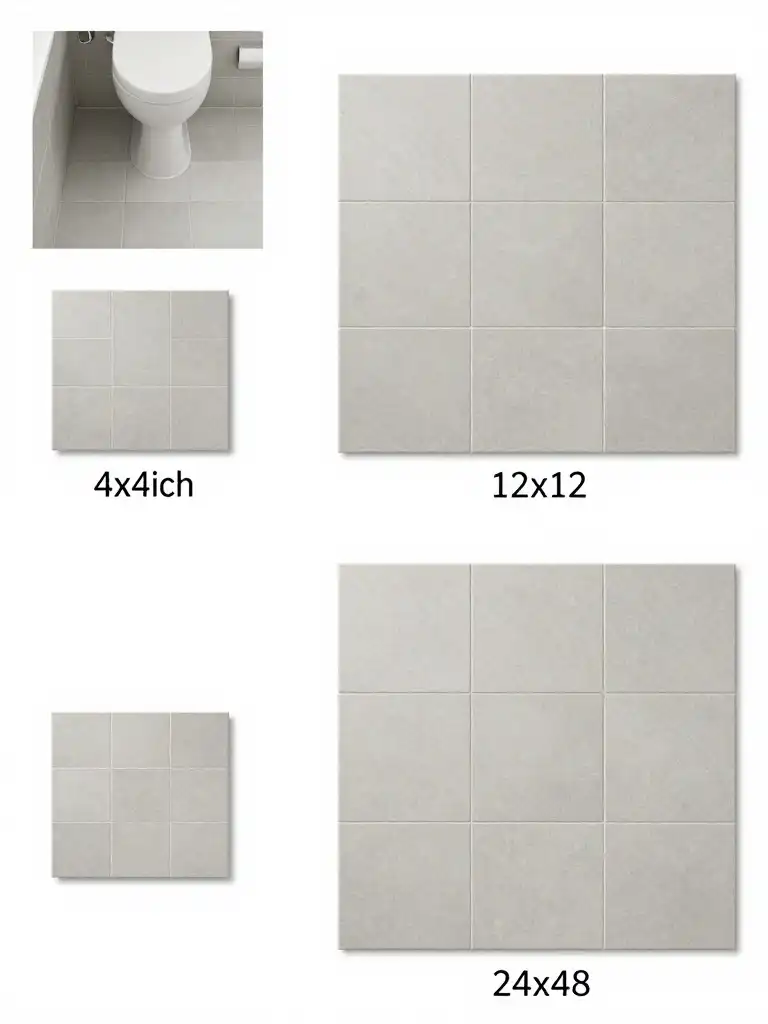
Tile size directly impacts how your bathroom feels. Use this bathroom tile size guide to make the right call. Large tiles (12×24 inches or bigger) suit spacious bathrooms with clean, modern aesthetics. They reduce grout lines and create a sleek, uninterrupted surface. Small tiles (1×1 or 2×2 inches) provide more grip underfoot, making them perfect for shower floors.
Here’s a practical size guide for American standard bathrooms:
| Bathroom Size | Recommended Floor Tile | Recommended Wall Tile |
|---|---|---|
| Under 40 sq ft | 4×4 or 6×6 inches | 3×6 or 4×8 inches |
| 40–70 sq ft | 12×12 or 12×24 inches | 4×12 or 6×12 inches |
| Over 70 sq ft | 18×18 or 24×48 inches | 12×24 or 24×48 inches |
Always account for grout line width in your size calculation. A 1/8-inch grout joint looks crisp and modern. A 1/4-inch joint suits textured or handmade tiles with irregular edges. Get this wrong and even premium tiles look sloppy.
Colour Trends in Bathroom Tiles – From Classic White to Bold Hues
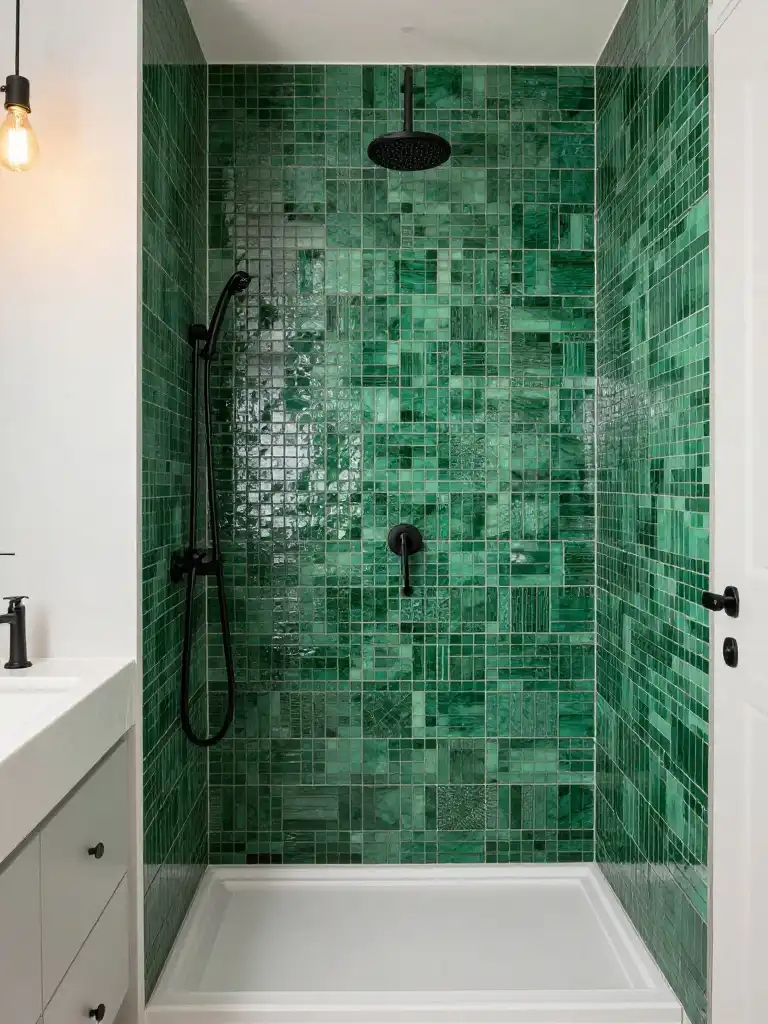
Color sets the emotional temperature of your bathroom. White bathroom tiles remain the number-one seller across the USA — timeless, versatile, and resale-friendly. But in 2025, American homeowners are bravely stepping beyond white into richer palettes.
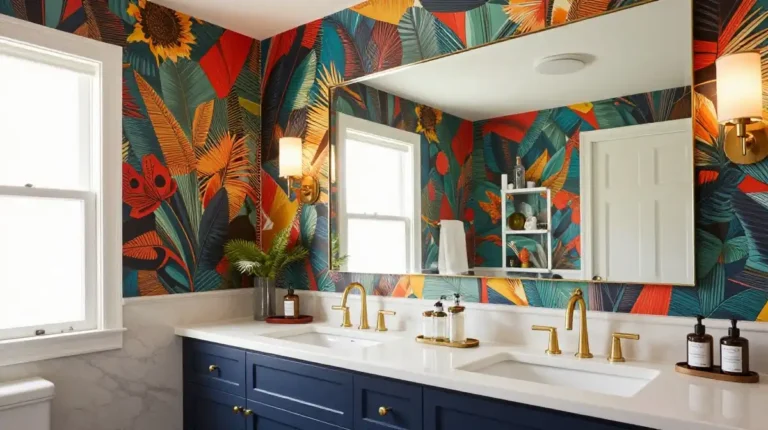
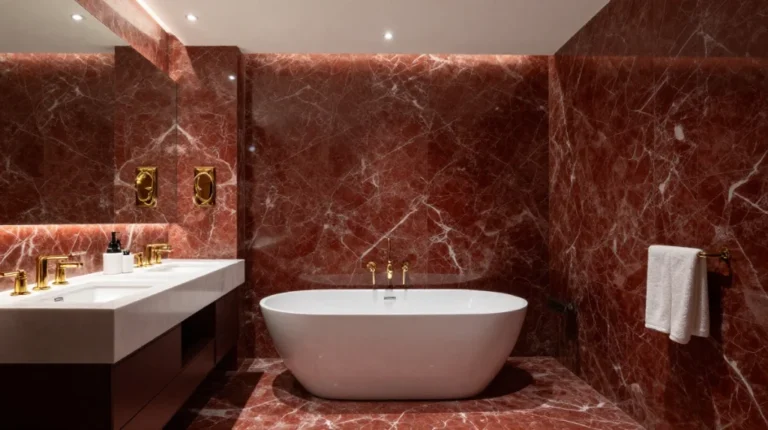
Grey bathroom tiles dominate the modern and transitional design scene. From soft dove grey to deep charcoal, they pair with every metal finish from brushed nickel to matte black hardware. Earthy terracottas and warm taupes gained massive popularity post-pandemic as homeowners craved warmth and grounding in their spaces. Emerald green, navy blue, and even blush pink tiles are showing up in feature walls and shower niches, proving that tile design can be as bold as any artwork. Still unsure? A neutral body tile with a colorful mosaic tile border gives you personality without full commitment.
Waterproof and Non-Slip Bathroom Tiles – What to Look For
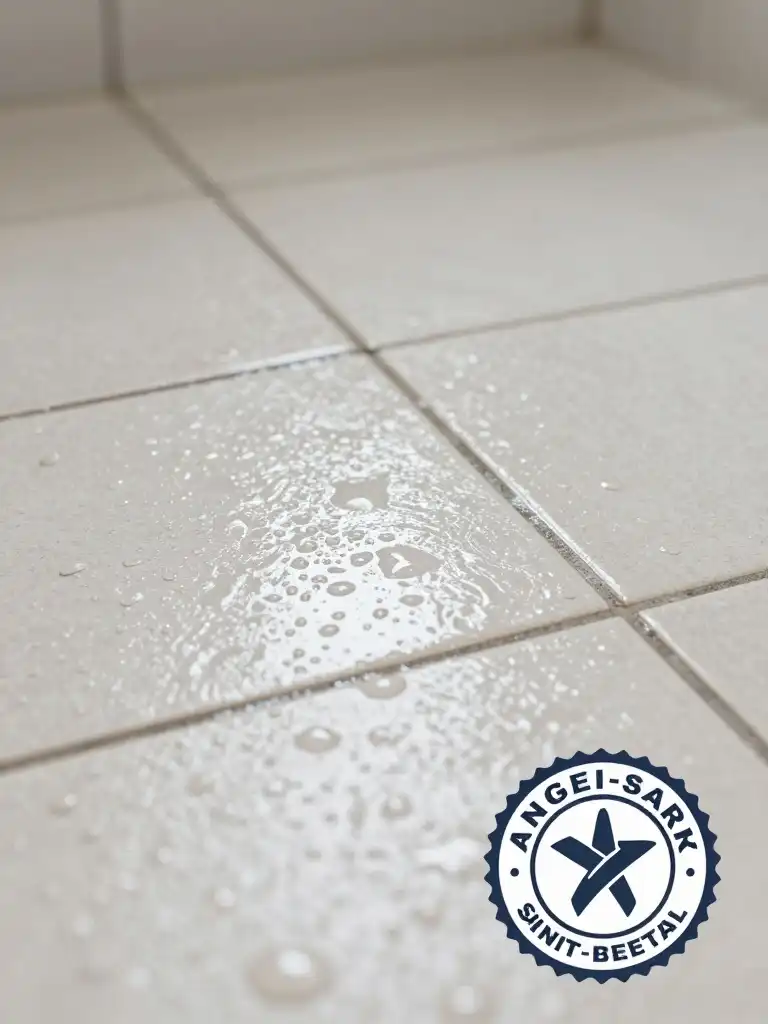
Waterproof bathroom tiles aren’t just a nice feature — they’re essential. Every tile in your bathroom faces constant moisture exposure. The key is choosing tiles with low water absorption rates and sealing grout lines properly. Porcelain tiles and glazed tiles lead the pack in water resistance naturally.
For shower floors and wet room tiles, always prioritize anti-slip bathroom flooring. The PEI (Porcelain Enamel Institute) rating system tells you how durable a tile’s surface is. For bathrooms, choose PEI 3 or higher for floors. Additionally, look for tiles certified by the Americans with Disabilities Act (ADA) compliance standards — they meet strict slip resistance requirements and work perfectly for universally accessible bathrooms. Never install polished marble or smooth glazed tiles on a wet shower floor, regardless of how beautiful they look.
How to Install Bathroom Tiles – Step-by-Step Beginner Guide
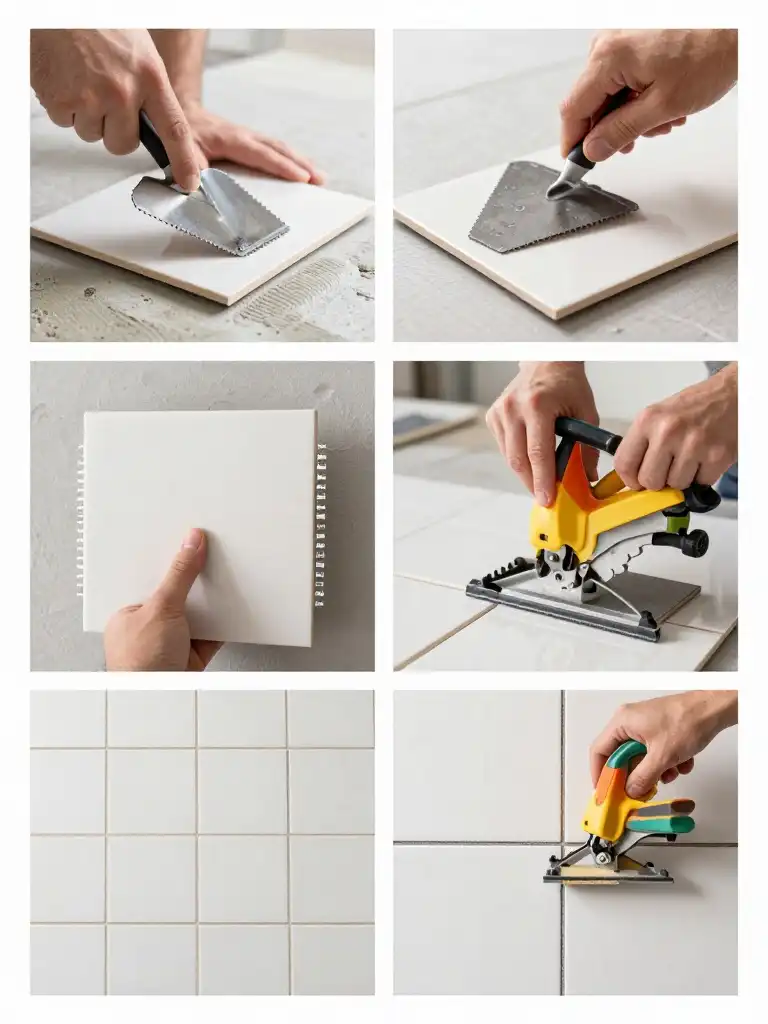
Bathroom tile installation is a weekend project many Americans tackle confidently with the right preparation. Start by cleaning and leveling your surface thoroughly — no shortcuts here. An uneven subfloor causes tiles to crack within months. Use a self-leveling compound for floors and cement backer board for walls before any tile goes down.
Follow this installation sequence for reliable results:
Step 1 — Plan Your Layout: Dry-lay tiles without adhesive first. Find the center point of your floor or wall and work outward symmetrically.
Step 2 — Apply Tile Adhesive: Use a notched trowel to spread tile adhesive evenly. Work in small 3×3-foot sections so adhesive doesn’t dry before you tile.
Step 3 — Set Tiles: Press each tile firmly with a slight twist. Use tile spacers to maintain consistent grout joints.
Step 4 — Cut Edge Tiles: A wet saw gives the cleanest cuts. Always wear safety goggles when cutting tile.
Step 5 — Let Adhesive Cure: Wait 24–48 hours before grouting.
Step 6 — Apply Grout: Use a rubber float to press tile grout into joints at a 45-degree angle. Wipe excess with a damp sponge.
Step 7 — Seal Grout: After 72 hours, apply a penetrating grout sealer to protect against staining and moisture.
Tile Grout and Adhesive – Everything You Need to Know
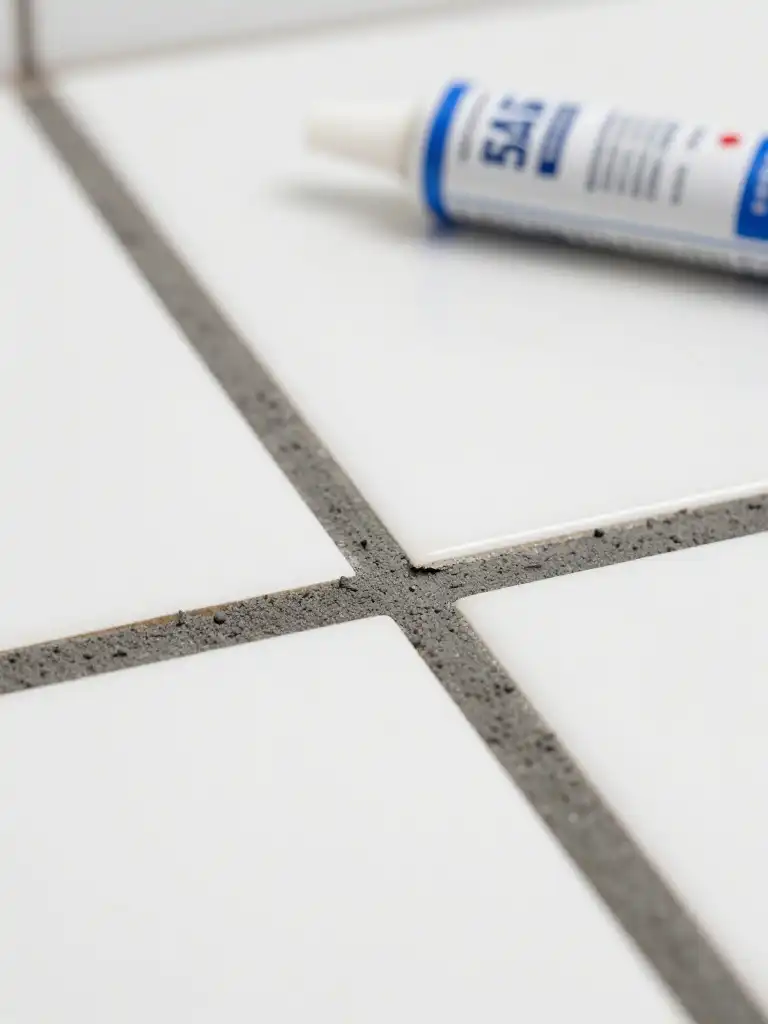
Tile grout and tile adhesive are the unsung heroes of every great bathroom tile job. Most beginners overfocus on the tile itself and underinvest in these critical materials. The wrong adhesive causes tiles to pop off walls. The wrong grout color can ruin an otherwise beautiful tile design.
There are two main grout types to know. Sanded grout contains fine sand particles and suits joints wider than 1/8 inch — use it for floor tiles and larger format tiles. Unsanded grout works for tighter joints under 1/8 inch, commonly used for wall tiles, mosaic tiles, and subway tiles. Epoxy grout costs more but resists stains and chemicals brilliantly — ideal for high-traffic floors and shower areas. Match your adhesive to your tile weight and substrate. Heavy natural stone bathroom tiles need a heavy-duty polymer-modified tile adhesive for secure bonding on walls.
| Grout Type | Best For | Joint Width | Stain Resistance |
|---|---|---|---|
| Sanded | Floor tiles, large joints | >1/8 inch | Moderate |
| Unsanded | Wall tiles, small joints | <1/8 inch | Moderate |
| Epoxy | Wet areas, high traffic | Any | Excellent |
How to Clean and Maintain Bathroom Tiles Properly
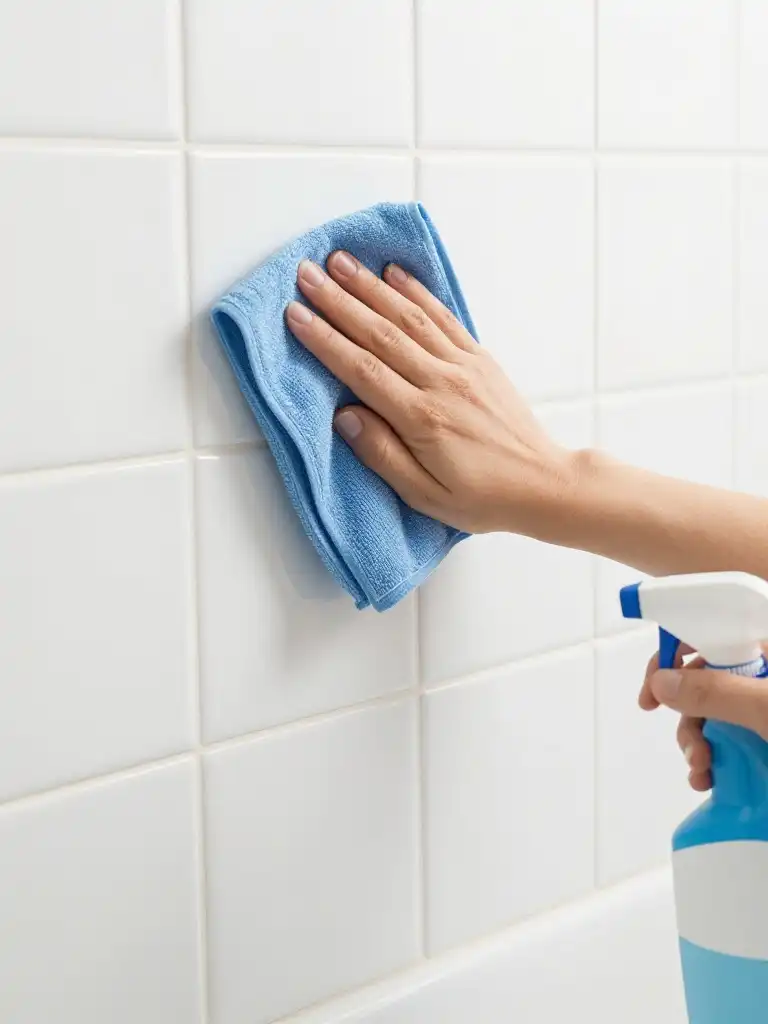
How to clean bathroom tiles properly extends their life dramatically. The biggest mistake most people make is using harsh acidic cleaners on natural stone or unglazed tiles — they etch the surface permanently. For ceramic tiles and porcelain tiles, a pH-neutral tile cleaner applied weekly keeps surfaces gleaming.
Grout lines need special attention. Dark grout stains make even expensive tiles look grimy. Mix one part baking soda with two parts warm water, apply to grout with an old toothbrush, scrub gently, and rinse. For stubborn mold in shower grout, a diluted white vinegar spray works well on glazed tiles and porcelain — but never use vinegar on natural stone bathroom tiles or unsealed grout. Reseal your grout every 12–18 months as part of routine bathroom renovation maintenance. It takes 30 minutes and saves hundreds in grout replacement costs.
Budget-Friendly Bathroom Tiles vs Premium Options – Worth the Price?
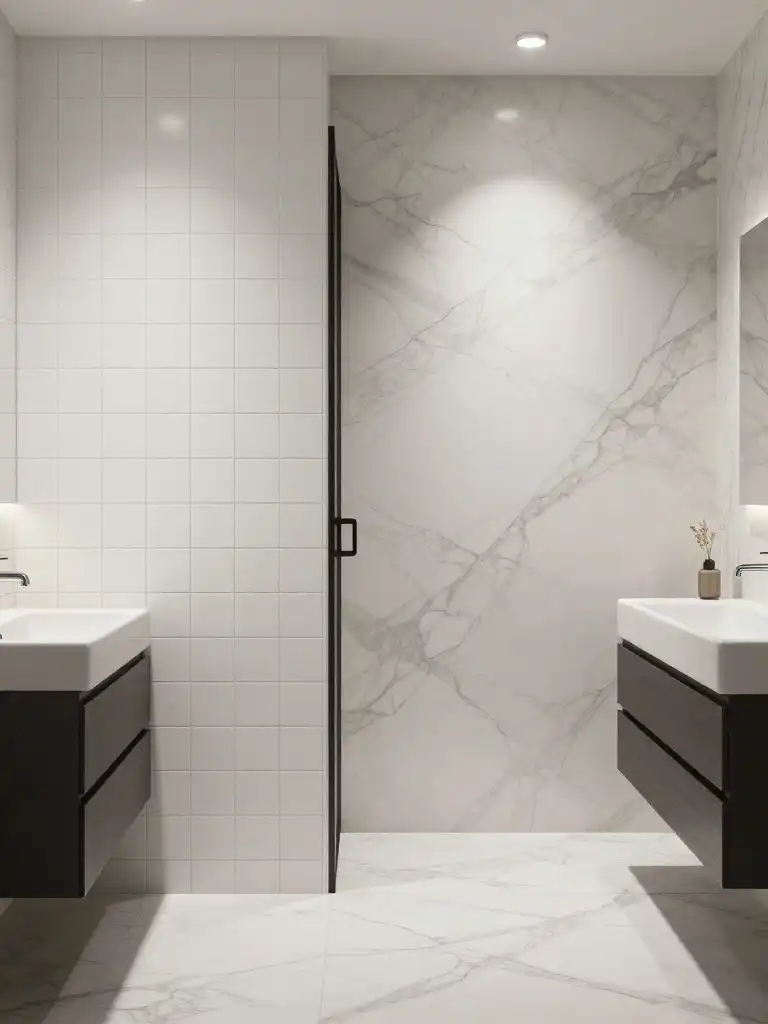
Cheap bathroom tiles can absolutely look stunning. Don’t let anyone convince you that a beautiful bathroom requires a massive budget. Box store ceramic tiles start at just $0.99 per square foot. Lay them in a creative pattern like herringbone or use a contrasting grout color and they look custom.
Premium tiles — think Italian porcelain tiles, handmade glazed tiles, or large-format natural stone bathroom tiles — genuinely do offer more visual drama, uniqueness, and longevity. But their real value lies in resale. American real estate data consistently shows that premium bathroom finishes return 60–70% of renovation costs in resale value. Here’s a simple breakdown:
| Budget Range | What You Get | Best For |
|---|---|---|
| Under $3/sq ft | Basic ceramic, limited design | Rental properties, quick flips |
| $3 – $7/sq ft | Quality porcelain, more styles | Primary homes, mid-range renovations |
| $7 – $15/sq ft | Designer tiles, unique finishes | Luxury bathrooms, high-end resale |
| $15+/sq ft | Handmade, stone, Italian imports | Statement bathrooms, custom builds |
Mix budget and premium strategically. Use affordable porcelain tiles on the main floor and splurge on a single feature wall or bath surround for maximum visual impact at minimum cost.
Eco-Friendly and Sustainable Bathroom Tile Options
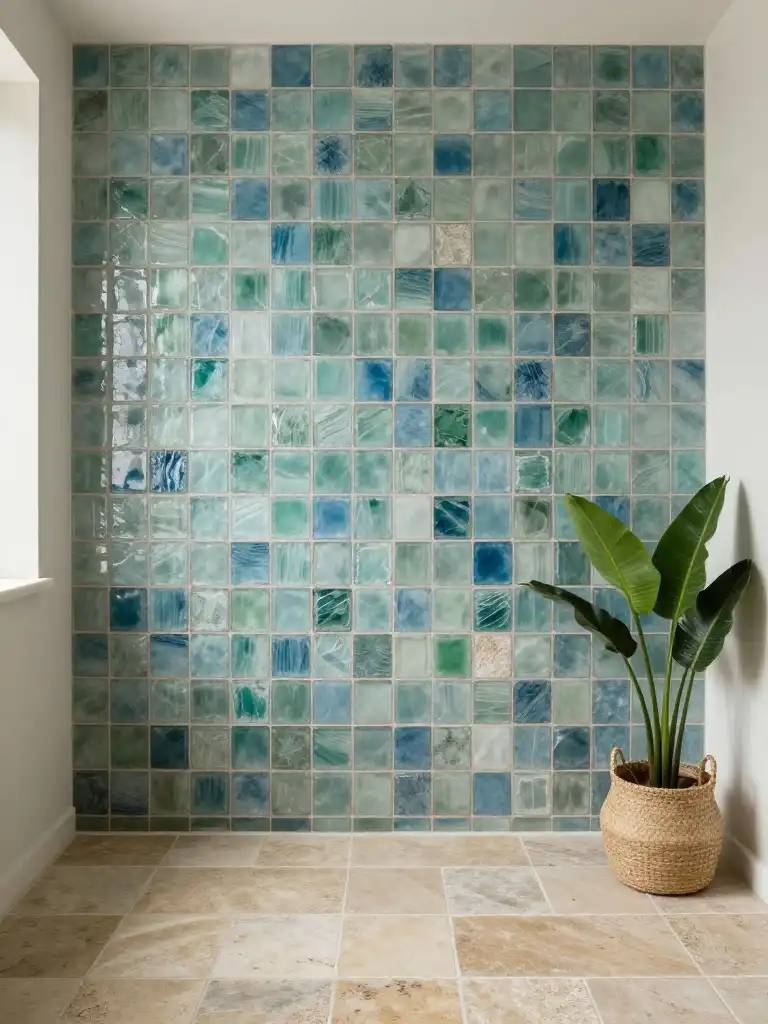
Sustainability matters more than ever to American consumers. Fortunately, the tile industry has responded with genuinely impressive eco-friendly innovations. Recycled glass tiles repurpose post-consumer and post-industrial glass into stunning, colorful mosaic tiles with zero quarrying impact. Some brands offer tiles made from 40–70% recycled content while maintaining full durability.
Reclaimed natural stone and glazed tiles sourced from demolished buildings carry both sustainability credentials and irreplaceable character. Look for tiles certified by the GREENGUARD program — they meet strict chemical emission standards and contribute to LEED points in green building projects. Local tile manufacturing also cuts carbon footprints dramatically by reducing shipping distances. American-made ceramic tiles from states like Ohio, New Jersey, and Tennessee offer both eco benefits and support for domestic industry. As a bonus, many eco-friendly tiles cost no more than conventional options today.
you may can also like this:15 Stunning Christmas Wreath Ideas to Decorate Your Home This Holiday Season
Common Bathroom Tile Mistakes to Avoid
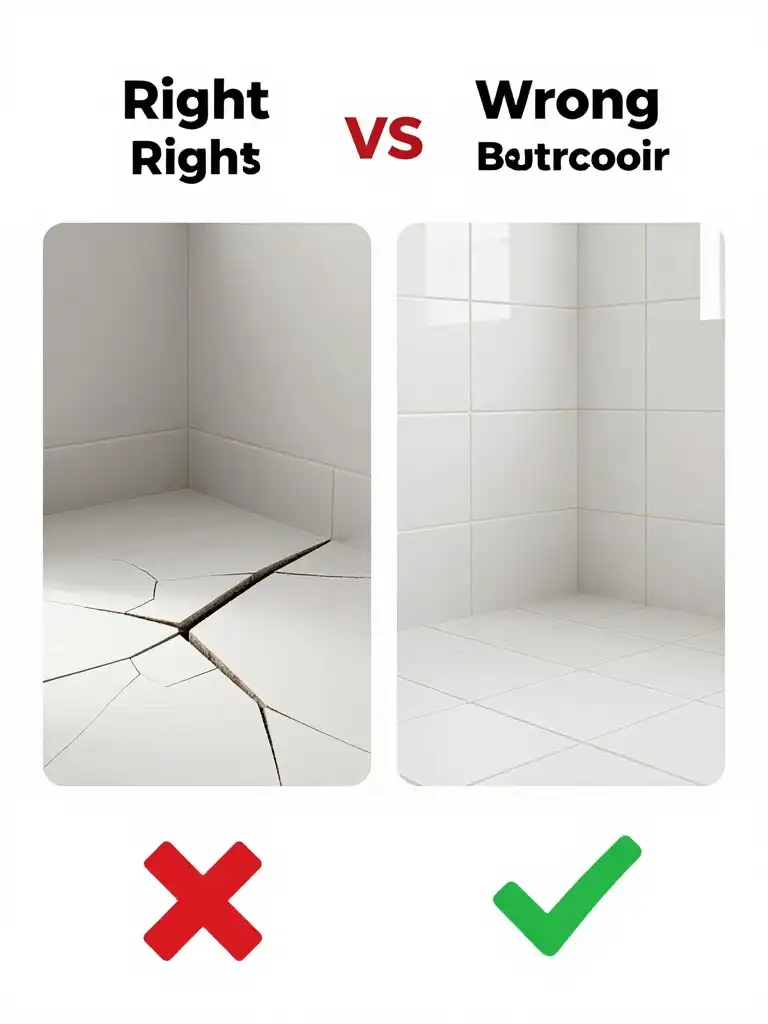
Even experienced DIYers make critical tile mistakes that cost time and money. The most expensive mistake is skipping the surface preparation stage. Tiles installed over uneven, dirty, or flexible substrates crack, pop, and loosen within months. Always prep your substrate properly — it’s the foundation everything else depends on.
Here are the most common mistakes American homeowners make during bathroom renovation:
Buying Just Enough Tile: Always order 10–15% extra for cuts, breakage, and future repairs. Running out mid-project and finding your tile is discontinued is a nightmare scenario.
Ignoring Grout Color: Your grout color changes the entire look of your bathroom tile patterns. Light grout shows stains fast. Dark grout hides dirt but can look heavy with dark tiles. Test grout samples before committing.
Skipping the Grout Sealer: Unsealed grout absorbs water and mold instantly in a wet bathroom. Seal it within 72 hours of installation.
Wrong Tile for the Application: Glazed tiles on a shower floor create a slip hazard. Wall tiles used on floors crack under foot traffic. Match tile type to its intended surface always.
Poor Tile Layout Planning: Centering your layout prevents awkward thin sliver cuts at room edges. Always dry-lay and plan before any adhesive goes down.
Mismatched Tile Batches: Tiles from different production batches vary in shade slightly. Always buy from the same batch number and check boxes for matching codes before purchase.